 https://visualadventures.com/wp-content/uploads/2021/02/OIP_ChrisCrash-A7_00335.jpg
1577
2500
jason
http://visualadventures.com/wp-content/uploads/2017/02/visual-adv-logo-2017-300x156.png
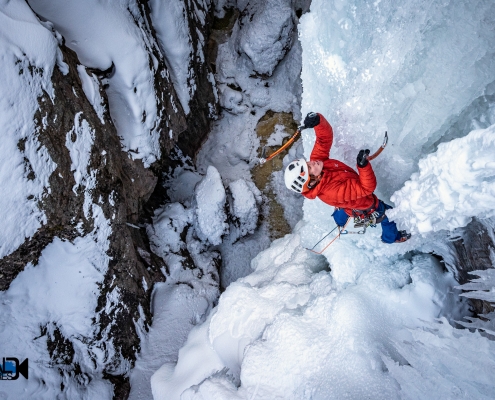
jason2021-02-04 16:25:592021-02-04 16:32:32New Video on Dynamic Loading of Ice Screw Anchors
https://visualadventures.com/wp-content/uploads/2021/02/OIP_ChrisCrash-A7_00335.jpg
1577
2500
jason
http://visualadventures.com/wp-content/uploads/2017/02/visual-adv-logo-2017-300x156.png
jason2021-02-04 16:25:592021-02-04 16:32:32New Video on Dynamic Loading of Ice Screw Anchors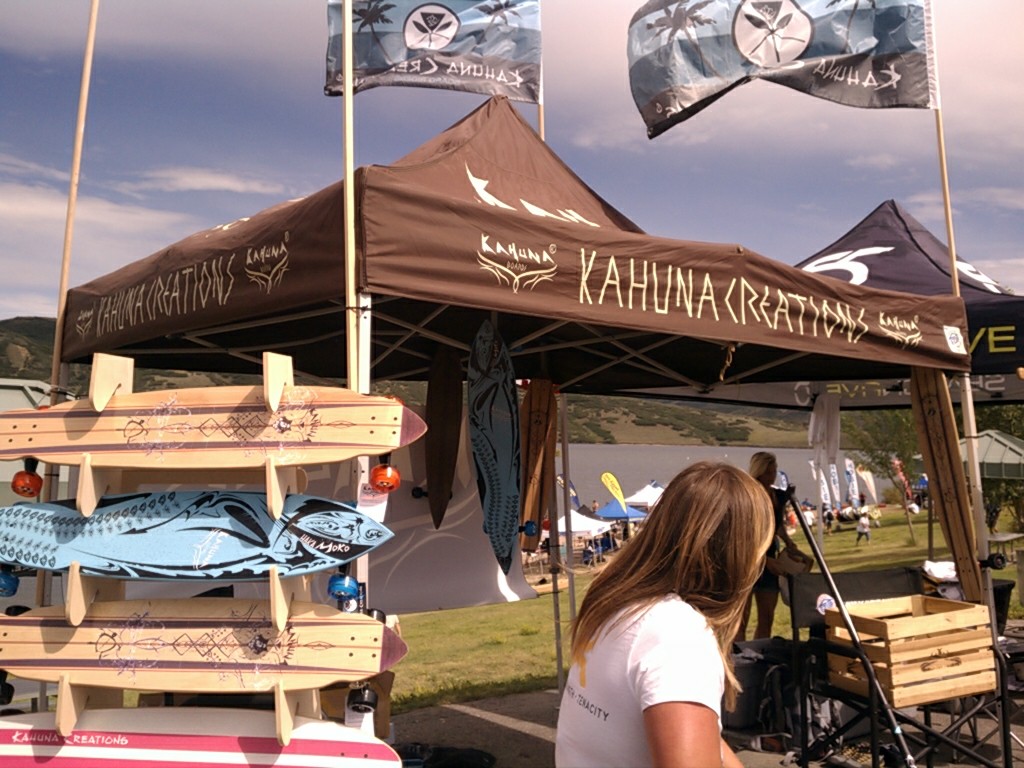 https://visualadventures.com/wp-content/uploads/2011/08/C360_2011-08-03-15-59-47_org.jpg
768
1024
jason
http://visualadventures.com/wp-content/uploads/2017/02/visual-adv-logo-2017-300x156.png
jason2011-08-04 00:09:152011-12-08 13:21:20Highlights from the Open Air Demo – Outdoor Retailer Show 2011
https://visualadventures.com/wp-content/uploads/2011/08/C360_2011-08-03-15-59-47_org.jpg
768
1024
jason
http://visualadventures.com/wp-content/uploads/2017/02/visual-adv-logo-2017-300x156.png
jason2011-08-04 00:09:152011-12-08 13:21:20Highlights from the Open Air Demo – Outdoor Retailer Show 2011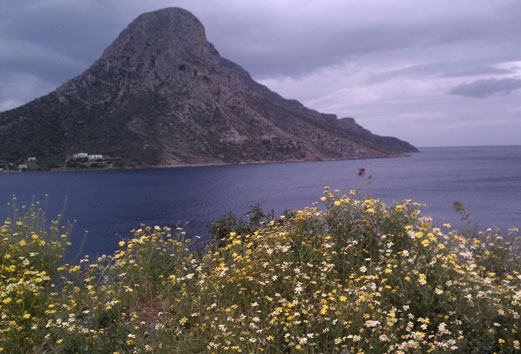 https://visualadventures.com/wp-content/uploads/2011/05/IslandFlowers.jpg
354
521
jason
http://visualadventures.com/wp-content/uploads/2017/02/visual-adv-logo-2017-300x156.png
jason2011-05-03 02:02:062011-07-13 15:00:54It’s Greek To Me!
https://visualadventures.com/wp-content/uploads/2011/05/IslandFlowers.jpg
354
521
jason
http://visualadventures.com/wp-content/uploads/2017/02/visual-adv-logo-2017-300x156.png
jason2011-05-03 02:02:062011-07-13 15:00:54It’s Greek To Me!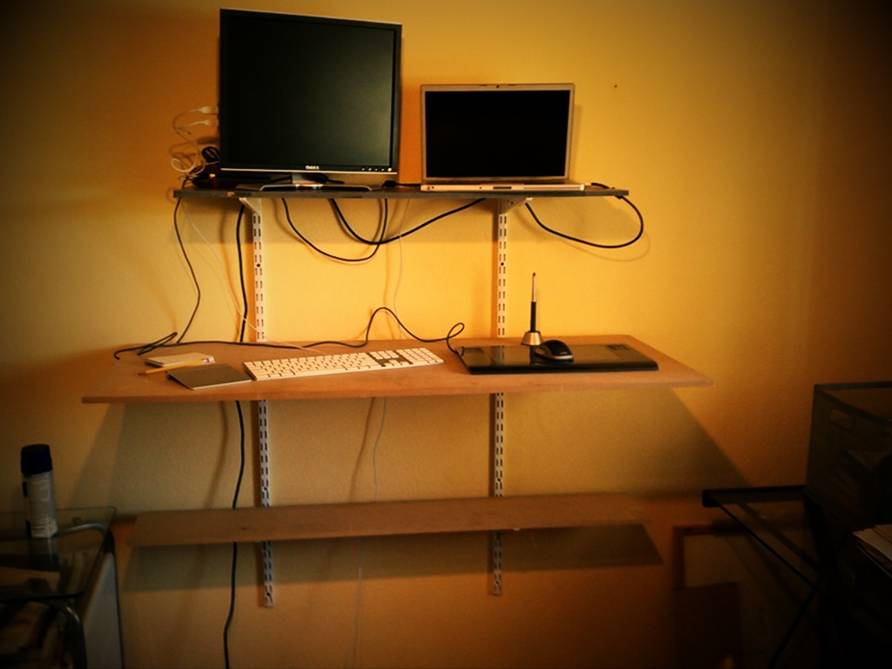 https://visualadventures.com/wp-content/uploads/2011/04/image002.jpg
669
892
jason
http://visualadventures.com/wp-content/uploads/2017/02/visual-adv-logo-2017-300x156.png
jason2011-04-25 22:23:442014-12-04 21:17:42How to Make an Adjustable Stand Up Desk for About $50
https://visualadventures.com/wp-content/uploads/2011/04/image002.jpg
669
892
jason
http://visualadventures.com/wp-content/uploads/2017/02/visual-adv-logo-2017-300x156.png
jason2011-04-25 22:23:442014-12-04 21:17:42How to Make an Adjustable Stand Up Desk for About $50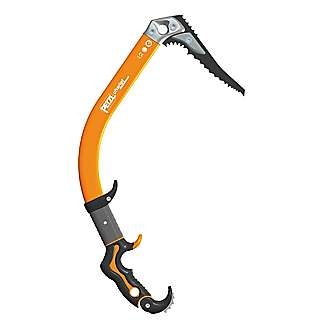 https://visualadventures.com/wp-content/uploads/2011/02/petzl-ergo-SR.jpg
325
325
jason
http://visualadventures.com/wp-content/uploads/2017/02/visual-adv-logo-2017-300x156.png
jason2011-02-28 18:14:452012-01-13 00:01:53Petzl Ergo Ice Tool Review
http://visualadventures.com/wp-content/uploads/2017/02/visual-adv-logo-2017-300x156.png
0
0
jason
http://visualadventures.com/wp-content/uploads/2017/02/visual-adv-logo-2017-300x156.png
jason2010-07-30 17:59:582011-11-11 14:14:33Pine Creek – a good beginner slot canyon in Zion
http://visualadventures.com/wp-content/uploads/2017/02/visual-adv-logo-2017-300x156.png
0
0
jason
http://visualadventures.com/wp-content/uploads/2017/02/visual-adv-logo-2017-300x156.png
jason2010-07-11 16:36:152020-04-16 16:29:3910 Tips to hiking Zion’s Narrows in a day
http://visualadventures.com/wp-content/uploads/2017/02/visual-adv-logo-2017-300x156.png
0
0
jason
http://visualadventures.com/wp-content/uploads/2017/02/visual-adv-logo-2017-300x156.png
jason2010-05-07 01:12:452010-05-24 17:09:19Lowe Alpine’s new Nanon Pack
https://visualadventures.com/wp-content/uploads/2011/02/petzl-ergo-SR.jpg
325
325
jason
http://visualadventures.com/wp-content/uploads/2017/02/visual-adv-logo-2017-300x156.png
jason2011-02-28 18:14:452012-01-13 00:01:53Petzl Ergo Ice Tool Review
http://visualadventures.com/wp-content/uploads/2017/02/visual-adv-logo-2017-300x156.png
0
0
jason
http://visualadventures.com/wp-content/uploads/2017/02/visual-adv-logo-2017-300x156.png
jason2010-07-30 17:59:582011-11-11 14:14:33Pine Creek – a good beginner slot canyon in Zion
http://visualadventures.com/wp-content/uploads/2017/02/visual-adv-logo-2017-300x156.png
0
0
jason
http://visualadventures.com/wp-content/uploads/2017/02/visual-adv-logo-2017-300x156.png
jason2010-07-11 16:36:152020-04-16 16:29:3910 Tips to hiking Zion’s Narrows in a day
http://visualadventures.com/wp-content/uploads/2017/02/visual-adv-logo-2017-300x156.png
0
0
jason
http://visualadventures.com/wp-content/uploads/2017/02/visual-adv-logo-2017-300x156.png
jason2010-05-07 01:12:452010-05-24 17:09:19Lowe Alpine’s new Nanon Pack