 https://visualadventures.com/wp-content/uploads/2011/08/canyonGallery_featured.jpg
155
280
jason
http://visualadventures.com/wp-content/uploads/2017/02/visual-adv-logo-2017-300x156.png
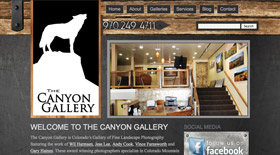
jason2011-08-02 21:35:492011-12-08 13:21:54The Canyon Gallery : Website Design
https://visualadventures.com/wp-content/uploads/2011/08/canyonGallery_featured.jpg
155
280
jason
http://visualadventures.com/wp-content/uploads/2017/02/visual-adv-logo-2017-300x156.png
jason2011-08-02 21:35:492011-12-08 13:21:54The Canyon Gallery : Website Design http://visualadventures.com/wp-content/uploads/2017/02/visual-adv-logo-2017-300x156.png
0
0
jason
http://visualadventures.com/wp-content/uploads/2017/02/visual-adv-logo-2017-300x156.png
jason2011-06-13 21:39:442012-01-12 23:58:29WordPress How To’s for Beginners
http://visualadventures.com/wp-content/uploads/2017/02/visual-adv-logo-2017-300x156.png
0
0
jason
http://visualadventures.com/wp-content/uploads/2017/02/visual-adv-logo-2017-300x156.png
jason2011-06-09 22:04:382012-01-12 23:59:38WordPress and Web Design How To’s for Developers
http://visualadventures.com/wp-content/uploads/2017/02/visual-adv-logo-2017-300x156.png
0
0
jason
http://visualadventures.com/wp-content/uploads/2017/02/visual-adv-logo-2017-300x156.png
jason2011-06-13 21:39:442012-01-12 23:58:29WordPress How To’s for Beginners
http://visualadventures.com/wp-content/uploads/2017/02/visual-adv-logo-2017-300x156.png
0
0
jason
http://visualadventures.com/wp-content/uploads/2017/02/visual-adv-logo-2017-300x156.png
jason2011-06-09 22:04:382012-01-12 23:59:38WordPress and Web Design How To’s for Developers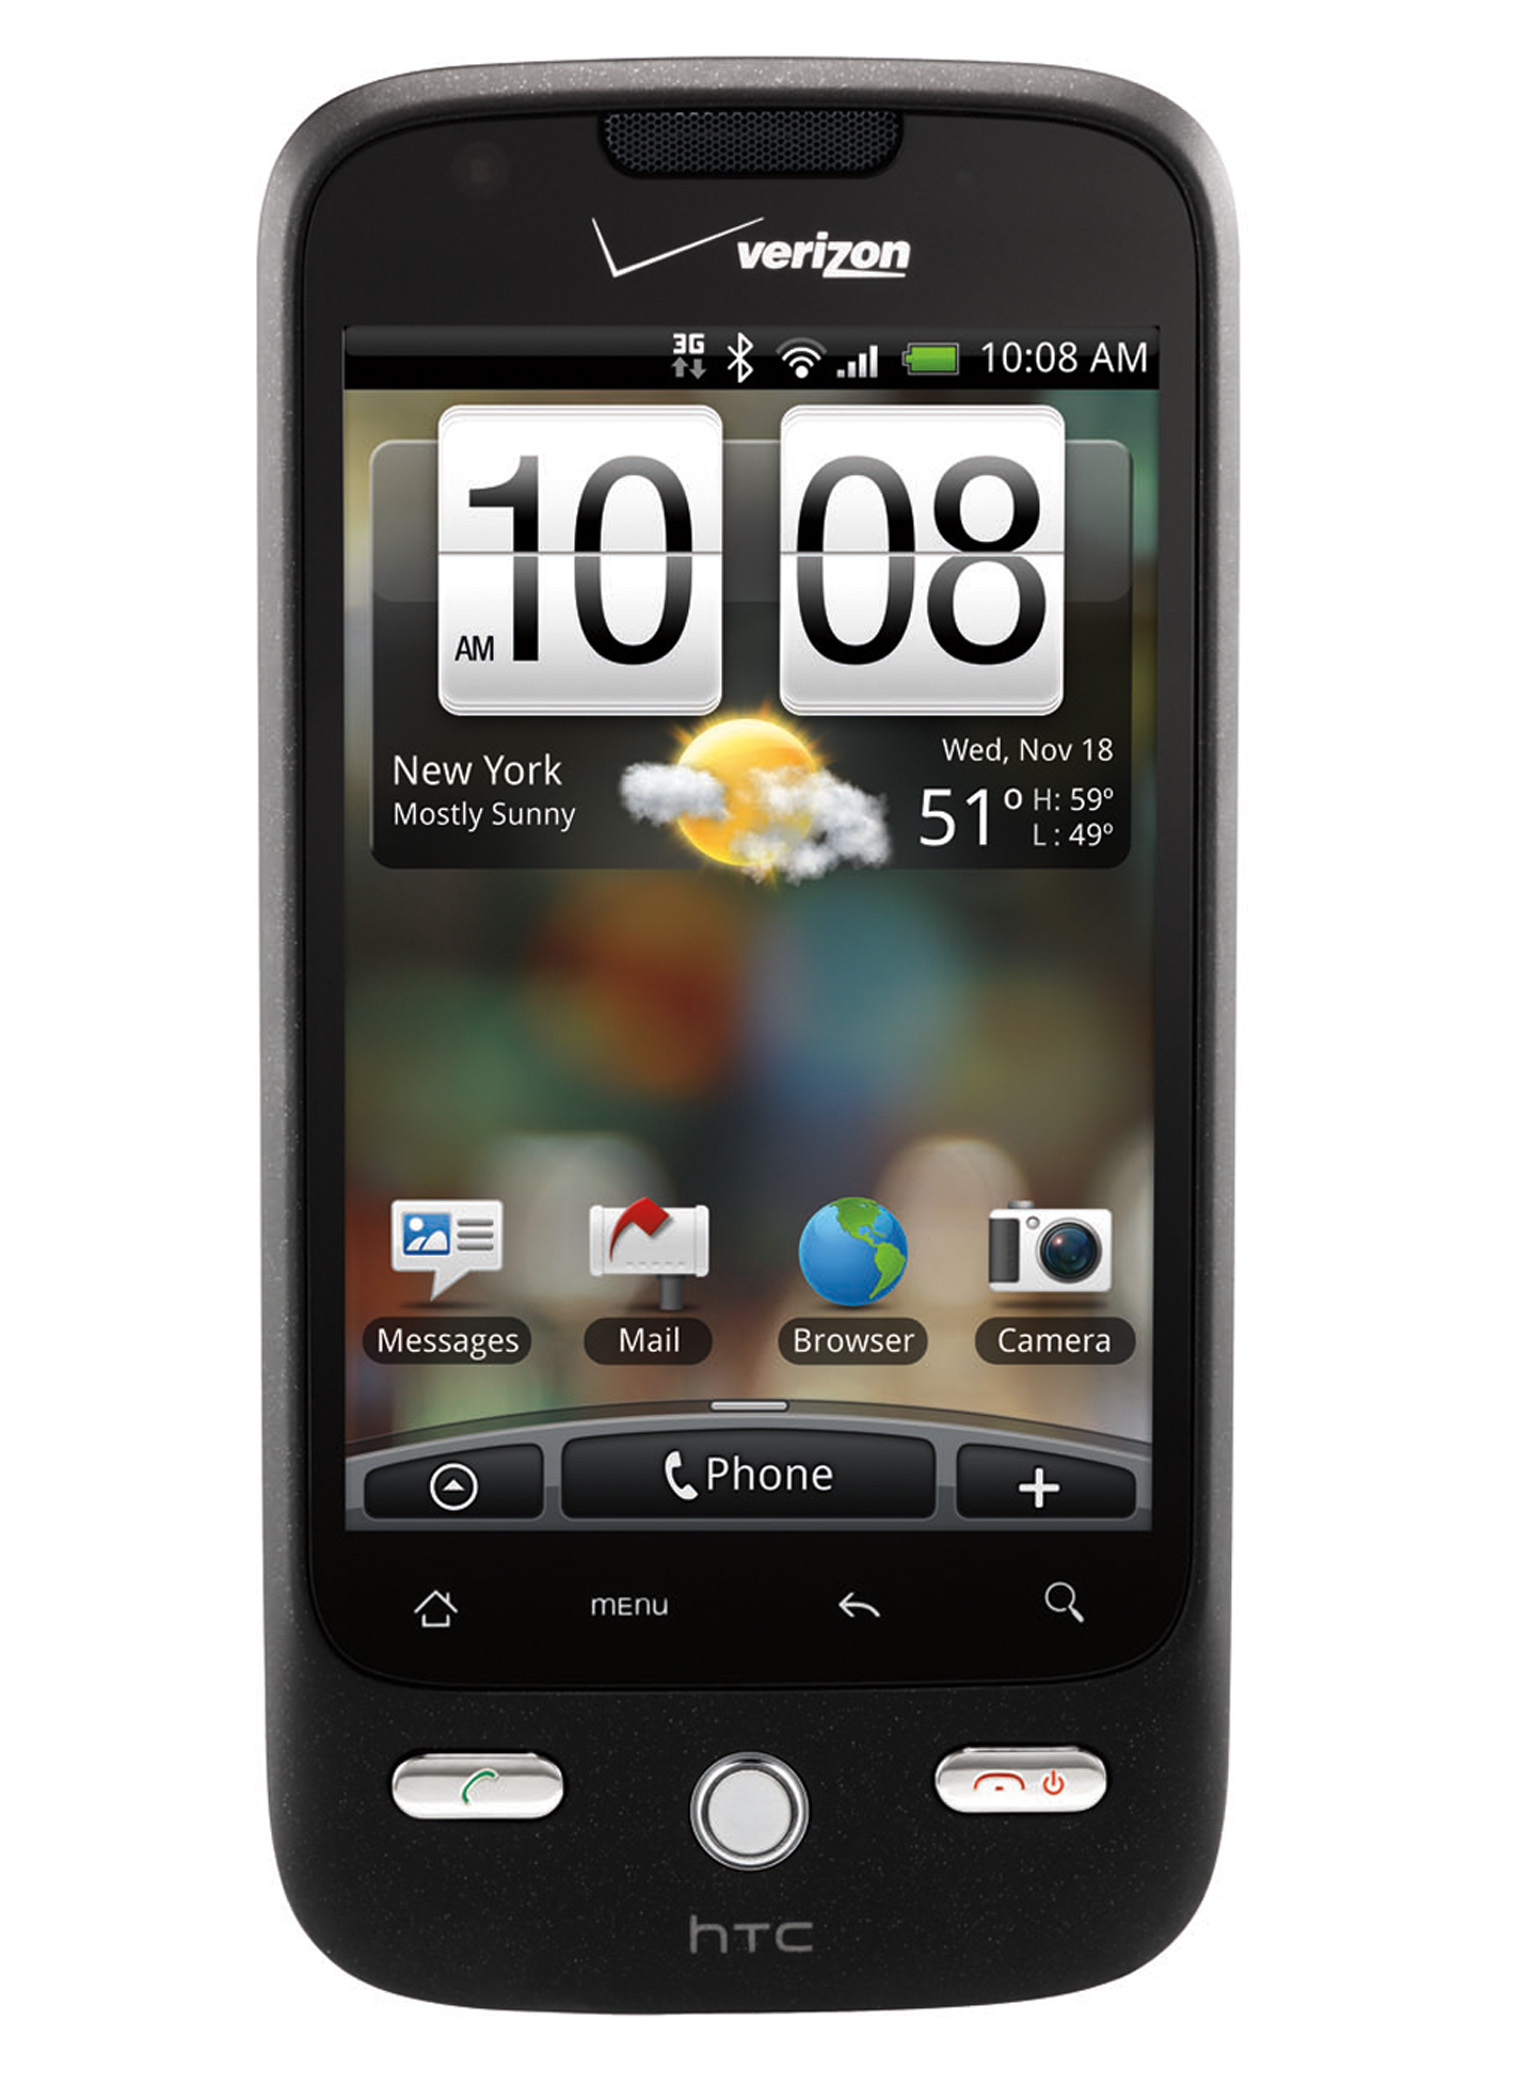 https://visualadventures.com/wp-content/uploads/2011/04/droid-eris.jpg
2100
1533
jason
http://visualadventures.com/wp-content/uploads/2017/02/visual-adv-logo-2017-300x156.png
jason2011-04-25 21:23:112011-04-26 05:52:31Do I Need a Mobile Version of my Website?
http://visualadventures.com/wp-content/uploads/2017/02/visual-adv-logo-2017-300x156.png
0
0
jason
http://visualadventures.com/wp-content/uploads/2017/02/visual-adv-logo-2017-300x156.png
jason2010-11-08 05:31:012011-12-08 13:28:22HTML Basics for WordPress Users
http://visualadventures.com/wp-content/uploads/2017/02/visual-adv-logo-2017-300x156.png
0
0
jason
http://visualadventures.com/wp-content/uploads/2017/02/visual-adv-logo-2017-300x156.png
jason2010-10-19 16:59:452011-09-15 16:22:07How to put the Nextgen Smooth Gallery Plugin into a WordPress Template
https://visualadventures.com/wp-content/uploads/2009/12/wordpressIcon.jpg
300
300
jason
http://visualadventures.com/wp-content/uploads/2017/02/visual-adv-logo-2017-300x156.png
jason2010-10-13 13:23:042012-01-13 00:00:53Updating your site in WordPress
http://visualadventures.com/wp-content/uploads/2017/02/visual-adv-logo-2017-300x156.png
0
0
jason
http://visualadventures.com/wp-content/uploads/2017/02/visual-adv-logo-2017-300x156.png
jason2010-09-09 03:43:462011-10-05 14:19:44Slideshow Options for WordPress NextGen Gallery
http://visualadventures.com/wp-content/uploads/2017/02/visual-adv-logo-2017-300x156.png
0
0
jason
http://visualadventures.com/wp-content/uploads/2017/02/visual-adv-logo-2017-300x156.png
jason2010-07-20 23:07:522010-07-20 23:10:59Artefino Surface Design Site Launched
http://visualadventures.com/wp-content/uploads/2017/02/visual-adv-logo-2017-300x156.png
0
0
jason
http://visualadventures.com/wp-content/uploads/2017/02/visual-adv-logo-2017-300x156.png
jason2010-04-14 18:47:432010-04-14 18:48:49New Website : Ouray Brewery
https://visualadventures.com/wp-content/uploads/2011/04/droid-eris.jpg
2100
1533
jason
http://visualadventures.com/wp-content/uploads/2017/02/visual-adv-logo-2017-300x156.png
jason2011-04-25 21:23:112011-04-26 05:52:31Do I Need a Mobile Version of my Website?
http://visualadventures.com/wp-content/uploads/2017/02/visual-adv-logo-2017-300x156.png
0
0
jason
http://visualadventures.com/wp-content/uploads/2017/02/visual-adv-logo-2017-300x156.png
jason2010-11-08 05:31:012011-12-08 13:28:22HTML Basics for WordPress Users
http://visualadventures.com/wp-content/uploads/2017/02/visual-adv-logo-2017-300x156.png
0
0
jason
http://visualadventures.com/wp-content/uploads/2017/02/visual-adv-logo-2017-300x156.png
jason2010-10-19 16:59:452011-09-15 16:22:07How to put the Nextgen Smooth Gallery Plugin into a WordPress Template
https://visualadventures.com/wp-content/uploads/2009/12/wordpressIcon.jpg
300
300
jason
http://visualadventures.com/wp-content/uploads/2017/02/visual-adv-logo-2017-300x156.png
jason2010-10-13 13:23:042012-01-13 00:00:53Updating your site in WordPress
http://visualadventures.com/wp-content/uploads/2017/02/visual-adv-logo-2017-300x156.png
0
0
jason
http://visualadventures.com/wp-content/uploads/2017/02/visual-adv-logo-2017-300x156.png
jason2010-09-09 03:43:462011-10-05 14:19:44Slideshow Options for WordPress NextGen Gallery
http://visualadventures.com/wp-content/uploads/2017/02/visual-adv-logo-2017-300x156.png
0
0
jason
http://visualadventures.com/wp-content/uploads/2017/02/visual-adv-logo-2017-300x156.png
jason2010-07-20 23:07:522010-07-20 23:10:59Artefino Surface Design Site Launched
http://visualadventures.com/wp-content/uploads/2017/02/visual-adv-logo-2017-300x156.png
0
0
jason
http://visualadventures.com/wp-content/uploads/2017/02/visual-adv-logo-2017-300x156.png
jason2010-04-14 18:47:432010-04-14 18:48:49New Website : Ouray Brewery